

Choosing the Right Electronic Lock for Your Office Building
A practical overview of what makes a good commercial electronic lock. Covers durability, compatibility, and features that matter for office environments.
A comprehensive step-by-step guide to planning, installing, and testing keycard access systems for office buildings. Learn about wiring, power requirements, and configuration procedures.

Installing a keycard access system isn't something you rush through. Get it wrong, and you're looking at security gaps, frustrated employees, and costly retrofits. We're going to walk you through the real process — what actually works on the ground.
Whether you're outfitting a single floor or an entire building, the fundamentals stay the same. You'll need proper planning, the right equipment, careful wiring, and thorough testing before anyone swipes their first card.
Before you buy a single component, you need to map out your entire system. This isn't optional — it's what separates a smooth installation from a nightmare.
Walk through the building with a checklist. How many doors need readers? Are they exterior, interior, or both? Which areas require separate access levels? Note the distance from each door to your central control panel — this affects your wiring runs and can add significant cost if you've got a sprawling campus.
Count the number of users who'll need access. A 50-person office has different needs than a 500-person enterprise. You're looking at card production, database setup, and initial configuration complexity. Most systems can handle thousands of cards, but you'll want capacity headroom.
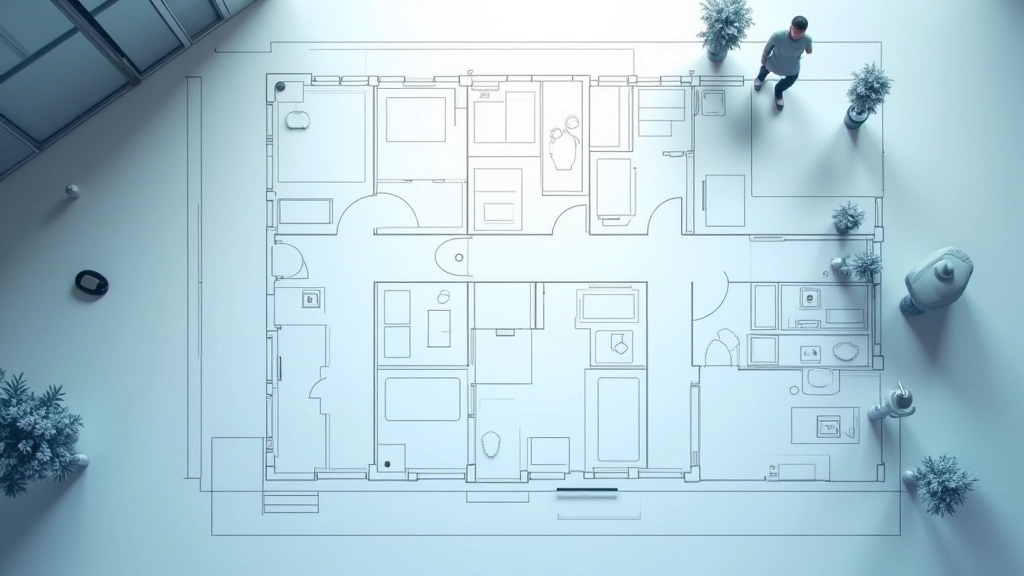

You'll need more than just readers and cards. A complete system includes the control panel, wiring, power supply, and mounting hardware. Let's break down what actually goes into a proper installation.
Your central control panel is the brain of the system. It communicates with all readers, manages user access levels, and logs entry attempts. Most modern panels support 500-4000 cards depending on the model. Make sure you're sizing up — you don't want to replace this in two years.
Card readers come in different formats. Proximity readers are the most common — employees just hold their card near the reader. They're reliable and don't require line-of-sight like some older systems. Installation depth into the door frame typically ranges from 20-30mm depending on your door type.
Power requirements matter more than people realize. A single reader draws about 100-150mA during normal operation. Multiply that across your building. Most systems use 12V DC power supplies with battery backup. That backup's crucial — you can't have people locked out when the power dips.
This is where you'll either do it right or regret it later. Improper wiring causes intermittent failures, false alarms, and expensive troubleshooting calls.
Use shielded twisted pair (STP) cabling — not regular ethernet. You're dealing with low-voltage signals that pick up interference from power lines, fluorescent lights, and wireless networks. STP cable has a metal shield that prevents that noise from corrupting your data. For runs longer than 50 meters, consider upgrading to thicker gauge wire to reduce voltage drop.
Never run access control wiring in the same conduit as power lines. The 120V or 240V power creates electromagnetic fields that'll interfere with your 12V signals. If you must cross a power line, do it at a right angle and shield the access control cable where they intersect.

Once everything's planned and wired, it's time to actually mount the readers. There's a sequence here — skip steps and you'll be redoing work.
Install your central control panel in a secure, climate-controlled location. It shouldn't be in a humid server room or a freezing storage area. Temperature swings cause component failures. Mount it at least 1.5 meters from the floor for security and accessibility.
Run your cabling from the control panel to each door location before you install readers. It's much easier to fish cable through conduit when there's nothing in the way. Test continuity on each run before proceeding.
Mount readers at 1.2-1.4 meters from the floor — roughly chest height for most people. This height works for seated wheelchair users and standing users. It's also the right distance from door handles to prevent accidental activation.
Connect each reader to the control panel through the installed cabling. Don't power up the system yet. First, run through all connections with a multimeter to confirm correct polarity and continuity on every line.
Power on the system and test each reader individually. Confirm LED indicators light up correctly. Try a test card on each reader to make sure communication's working. Don't assume everything's good until you've tested every single one.

You're not done until everything works exactly as planned. Testing reveals problems before they become headaches for your users.
Test access levels first. Assign test cards to different permission groups — admin, staff, visitor, contractor. Verify that a contractor card can't open doors restricted to employees. Try revoking a card and confirming it no longer grants access. These aren't edge cases — they're the whole point.
Test backup power. Unplug the main power supply and confirm the system switches to battery backup seamlessly. Readers should stay responsive for at least 24 hours. Some buildings need 72 hours of backup — check your requirements.
Run a full audit report from your control panel. You should see entry logs with timestamps, user IDs, and success/failure status. Make sure the logging system captures everything — you'll need this data for security investigations down the road.
Once everything's installed and tested, you're not quite finished. Set up a maintenance schedule. Check readers quarterly for physical damage and wear. Review access logs monthly — they'll tell you if something's going wrong before you get a security incident. Document everything: wiring diagrams, card lists, access levels, emergency procedures. This documentation saves hours when you're troubleshooting problems at 11 PM.
Train your team on how to issue new cards, revoke access for departing employees, and handle system alerts. Don't leave this knowledge with one person — that person will eventually leave too.
This guide is provided for informational purposes to help you understand keycard system installation principles. Installation requirements vary by building code, location, and system manufacturer. Always consult with a licensed electrician for wiring work and follow your system manufacturer's specifications. Local regulations may require professional installation by certified technicians. Improper installation can compromise security and create safety hazards. When in doubt, contact a qualified access control professional.

Editorial Team
Written by the quirobank editorial team, focused on practical guidance for commercial door access and security hardware.
A practical overview of what makes a good commercial electronic lock. Covers durability, compatibility, and features that matter for office environments.
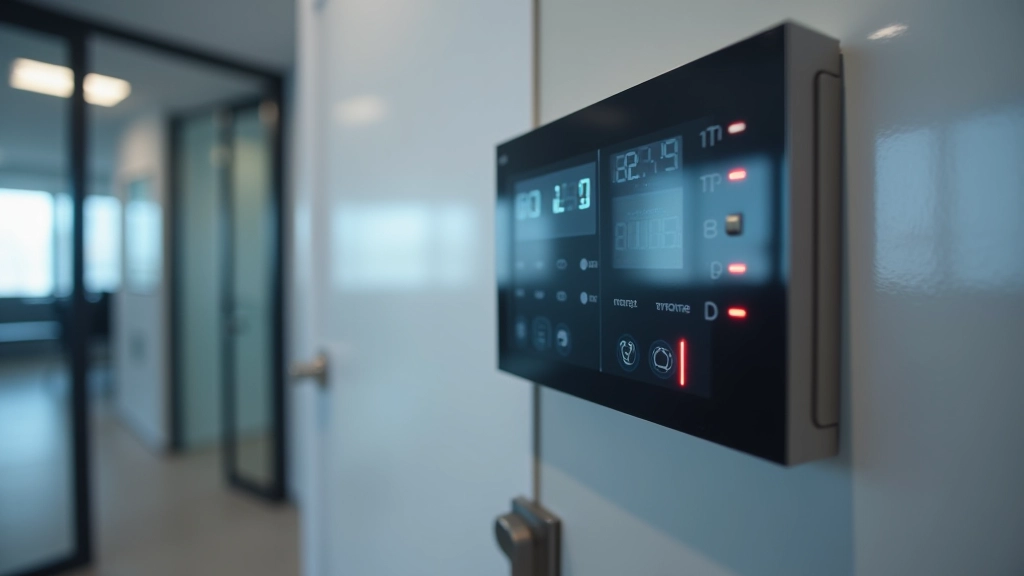
Learn how to set up different access levels for employees, visitors, and contractors. Covers best practices for user management and security policies.

Common problems with electronic door systems and how to diagnose them. Covers basic troubleshooting, log interpretation, and when to call professionals.